

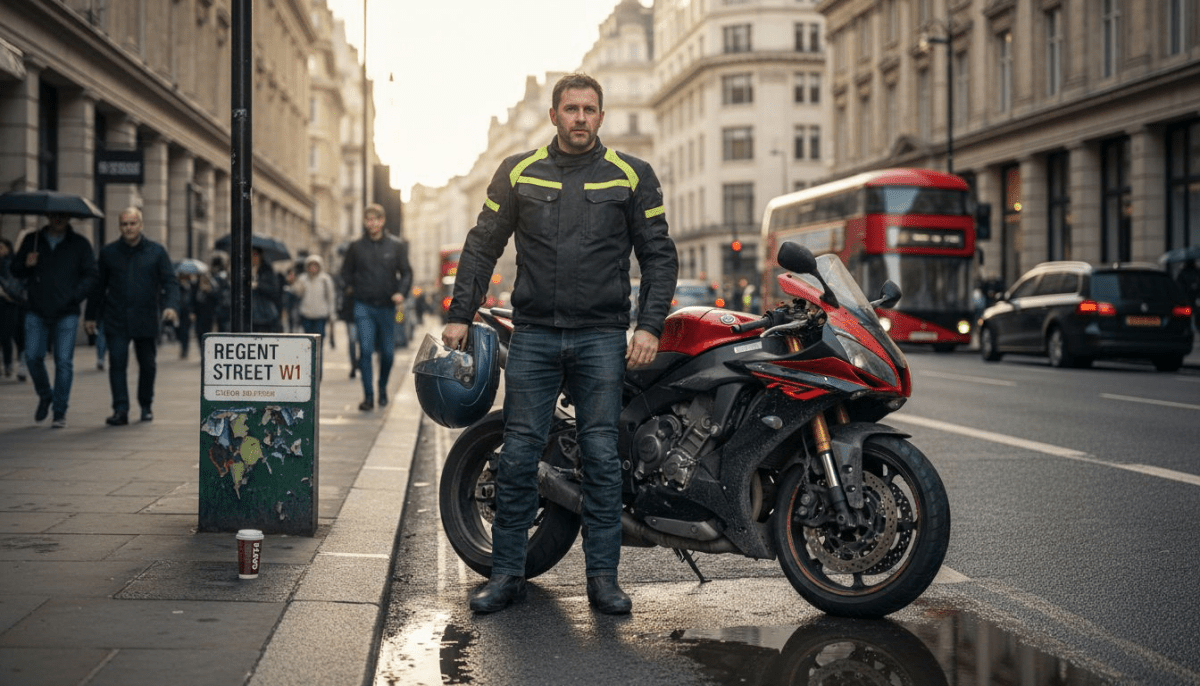
Choosing motorcycle gear can quickly feel confusing, especially when British weather throws both wind and rain at your weekend ride-outs. For adventure riders tackling Yorkshire moorlands or café racer fans joining a London event, matching your kit to your environment matters as much as style. When you assess your riding conditions and habits, picking out truly protective gear becomes much simpler. This guide reveals how assessing riding conditions thoroughly leads to smarter gear choices, blending safety and comfort for every community ride.
Table of Contents
- Step 1: Assess Your Riding Needs And Conditions
- Step 2: Research Essential Protective Features
- Step 3: Select Gear That Suits Your Riding Style
- Step 4: Check Fit And Comfort For All-Day Use
- Step 5: Verify Certifications And Quality Standards
Quick Summary
| Key Point | Explanation |
|---|---|
| 1. Assess Your Riding Needs | Understand your typical riding conditions and style to determine the required gear for safety and comfort. |
| 2. Verify Protective Features | Ensure your gear has recognised certifications like CE marks, indicating it has passed safety standards for impact protection. |
| 3. Match Gear to Riding Style | Select gear appropriate for your specific riding scenario to enhance comfort and protection based on your typical rides. |
| 4. Focus on Proper Fit | Test gear while wearing your entire riding setup; poorly fitting gear compromises protection and comfort significantly. |
| 5. Check Quality Standards | Examine stitching, materials, and specifications to confirm durability and effectiveness rather than relying solely on brand reputation. |
Step 1: Assess Your Riding Needs and Conditions
Before you buy a single piece of kit, you need to understand what you actually need. Your riding habits, local weather, and the types of routes you tackle will completely shape what gear makes sense for you. An adventure rider tackling moorland tracks in Yorkshire faces entirely different demands than a café racer enjoying weekend cruises through London. The good news is that once you know your situation, choosing the right gear becomes straightforward.
Start by thinking about where and how you ride. Are you commuting daily through town traffic, or do you venture out on weekend ride-outs with the Veloce Club community? Do you ride year-round, or mainly during warmer months? Your climate matters enormously. Cold weather requires a different approach than summer riding, and weather-specific protection means investing in thermal layers, windproof outer jackets, and possibly electrically warmed suits to maintain both comfort and safety. Rain is particularly common in the UK, so waterproof gear isn’t optional. High visibility matters too, especially if you ride in low light conditions or busy traffic. Brightly coloured or reflective jackets, gloves, and boots make you far more noticeable to other road users.
Next, consider your riding style and speed. Sport riding demands different protection than leisurely touring. Fast riding exposes you to greater impact risk, so body armour, spine protectors, and robust materials become non-negotiable. Touring riders need comfort for longer days in the saddle, so ventilation and adjustability matter. Even your commuting style counts. Stop-start urban riding is gentler than sustained motorway commutes. The Motorcycle Safety Foundation emphasises that assessing riding conditions thoroughly is critical because different environments demand different protective strategies. A wet town centre needs different handling than a dry country road.
Budget matters too, but frame it correctly. Cheap gear that doesn’t protect you is no bargain whatsoever. That said, good protection doesn’t require unlimited spending. Identify your core non-negotiables first (helmet, jacket, gloves, boots are always essential), then add specialist pieces as your budget allows. An adventure rider might prioritise robust protective wear for off-road conditions, whilst a café racer might invest more in style-focused gear that still delivers safety.
Here is a summary comparing typical riding styles and their recommended gear priorities:
| Riding Style | Key Priorities | Suggested Gear Features |
|---|---|---|
| Urban Commuter | High visibility, waterproof | Reflective jackets, lightweight gloves |
| Adventure Rider | Durability, all-weather use | Armour panels, robust shells |
| Café Racer | Style and comfort balance | Vintage designs, discreet armour |
| Sport Rider | Maximum protection at speed | Full-face helmet, reinforced leathers |
| Touring Rider | All-day comfort, ventilation | Adjustable fit, ventilation panels |
Tip Write down your typical riding conditions (weather, roads, distance, time of day) and your annual mileage, then use this information to guide every gear decision you make. This simple exercise prevents impulse purchases and ensures everything you buy actually serves your real needs.
Step 2: Research Essential Protective Features
Now that you understand your riding needs, it’s time to dig into what actually protects you when things go wrong. Protective features aren’t marketing buzzwords; they’re the difference between walking away from a crash and spending months in hospital. Every piece of gear serves a specific purpose, and understanding these purposes helps you make smart choices rather than just grabbing whatever looks good.
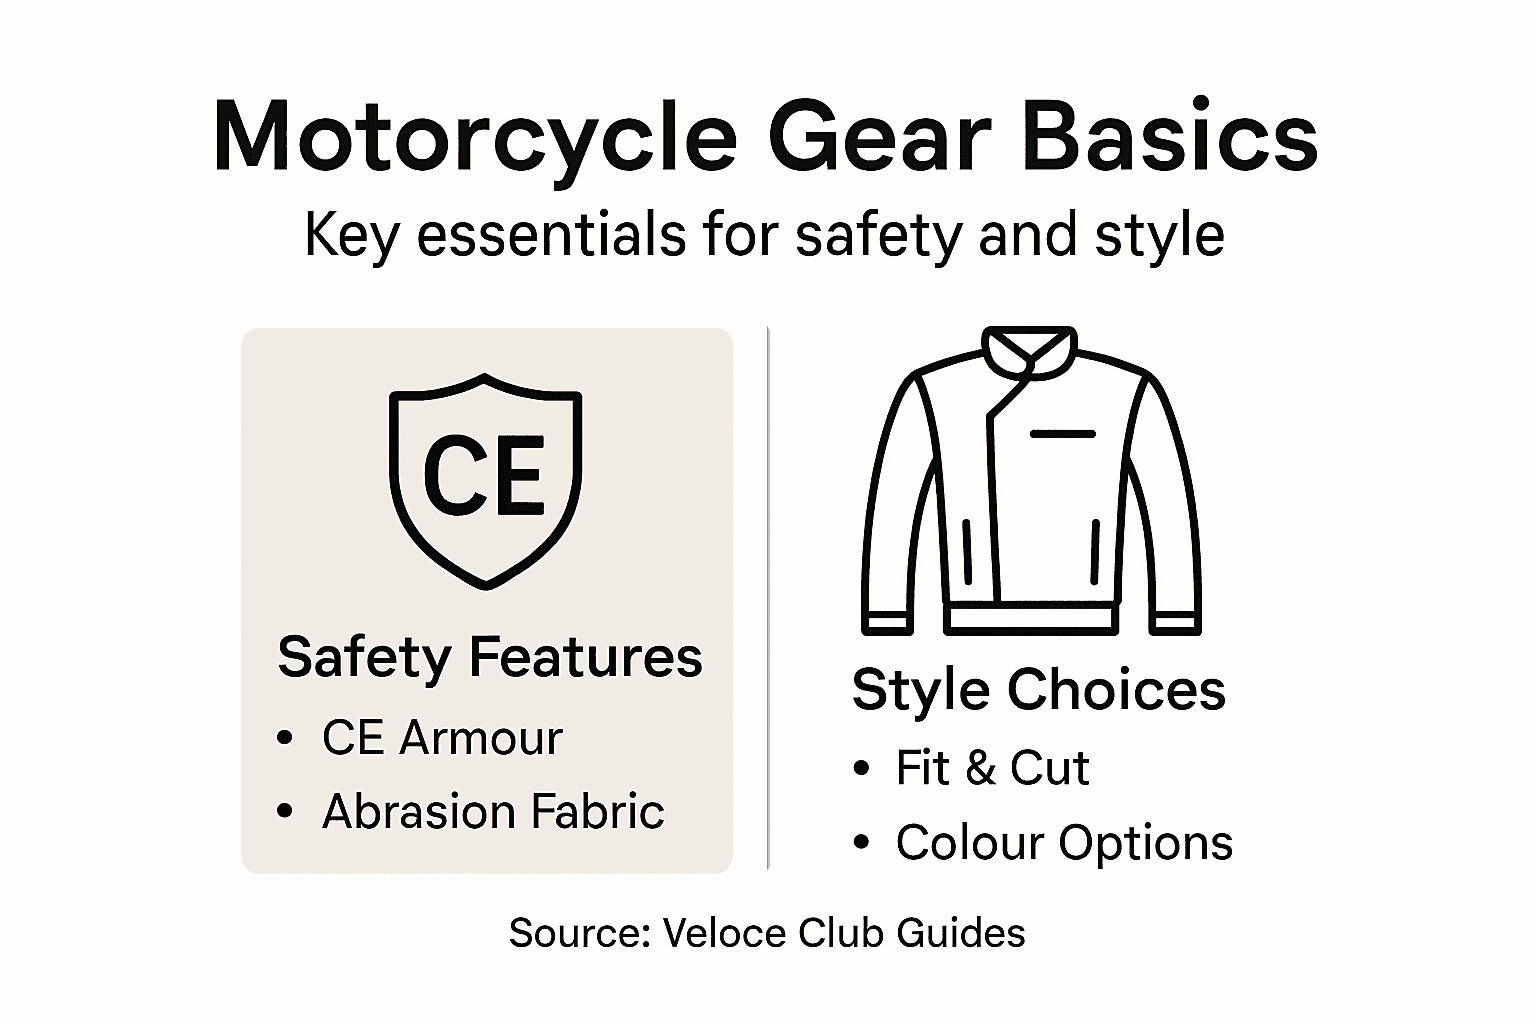
Start with certifications. Gear sold in the UK should meet recognised safety standards, with CE (Conformité Européenne) markings being the most common. These certifications tell you the gear has been tested against real-world crash scenarios. CE certification levels range from basic city riding protection to high-performance impact absorption, so understanding where your gear sits on that spectrum matters. Level 1 gear handles typical urban commuting speeds, whilst higher levels offer enhanced protection for faster riding and more demanding conditions. The certification tells you the fabric can resist abrasion and the armour has been tested for energy absorption. When you’re browsing jackets or gloves, always check for that CE mark. If it’s missing, you’re buying unknown gear, which defeats the purpose.
Next, familiarise yourself with what each piece of gear actually does. Your helmet protects your head and brain from trauma, making it non-negotiable regardless of where you ride. Jackets shield your torso from road rash and distribute impact forces across your body through strategically placed armour panels. Gloves protect your hands and wrists, which riders instinctively throw forward during a crash. Armoured pants and proper boots protect your legs and feet. The philosophy behind this is simple: All The Gear, All The Time isn’t paranoid thinking, it’s practical accident prevention. Every uncovered bit of skin is vulnerable skin.
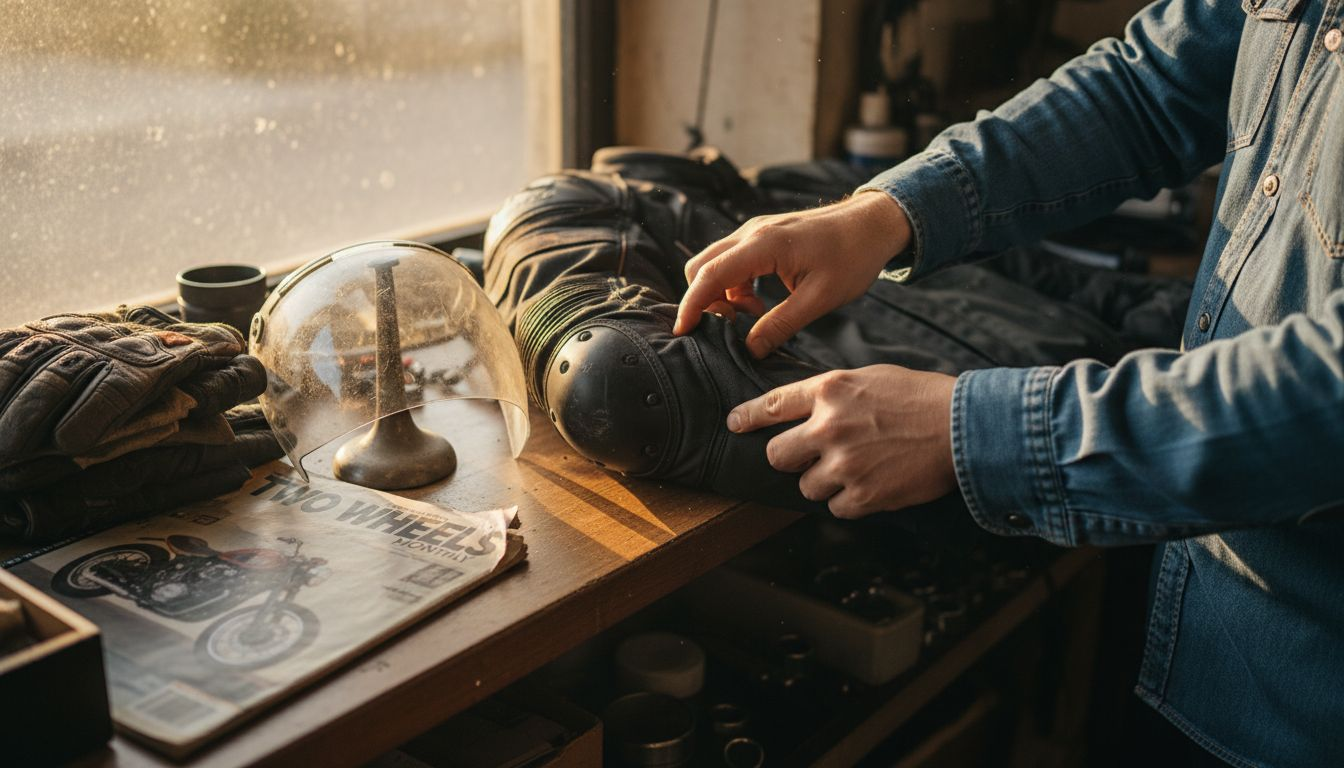
Look at the materials and construction. Modern protective gear uses technical fabrics designed to resist abrasion at speed. Leather remains excellent for durability, but textile jackets often offer better weather protection and visibility. Armour comes in different densities; harder armour absorbs high-impact energy better, whilst softer armour is more comfortable for longer rides. The stitching matters too. Double or triple stitching, especially at stress points like sleeves and seams, means gear that won’t fall apart in a crash. Check how the armour is positioned within the jacket. It should sit where your body typically makes contact with the road, not just where a manufacturer thought it looked good.
Don’t overlook visibility and weather protection. A brilliant white or fluorescent jacket makes you visible in low light and rain. Reflective panels catch headlights from behind. Waterproofing isn’t just comfort; it’s safety. A soaking wet rider loses focus and body temperature, neither of which helps. Ventilation matters too, especially for UK summer riding. Jackets with mesh panels and removable liners let you adapt to changing conditions throughout a ride.
Tip When comparing gear, read reviews from riders with similar conditions to yours, then physically try it on before buying, as protective features mean nothing if the gear doesn’t fit properly and won’t stay in place during a crash.
Step 3: Select Gear That Suits Your Riding Style
Your gear choices should align with how you actually ride, not how you imagine yourself riding. An adventure rider tackling Snowdonia has completely different needs than a café racer cruising through town on weekends. Getting this match right means you’ll feel confident and comfortable rather than fighting against gear that works against your style. The good news is that once you understand your primary riding type, the gear selection becomes logical.
Think about your typical riding scenarios. Are you hammering around twisty backroads at decent speed, or are you covering hundreds of miles comfortably on touring routes? Do you spend most of your time in urban traffic, or out on open moorland? Sport and touring gear require specialised features that serve very different purposes. Sport riding demands aggressive armour placement, minimal fabric for aerodynamic slipstreams, and stiff materials that keep their shape during hard cornering. Ventilation matters less because you’re generating speed and airflow naturally. Touring gear prioritises comfort for extended riding, with ventilation panels, adjustable closures, and enough flexibility that you won’t feel restricted after eight hours in the saddle. Cruiser riders often gravitate towards classic styling that still delivers protection, whilst adventure riders need gear that handles everything from tarmac to gravel and rain to sunshine.
Consider the weather you actually ride in. UK summer riding isn’t tropical, so mesh jackets with waterproof liners work brilliantly because they offer flexibility. A summer textile jacket with removable sleeves lets you adapt as temperature changes. Winter requires proper thermal layers under a windproof shell, possibly with integrated heating. Rain is non-negotiable in Britain, so waterproofing isn’t optional even if you only ride occasionally. Look at how the gear manages moisture. Textiles with sealed seams and quality zips keep water out better than seams simply stitched together. Reflectivity matters year-round but becomes critical during autumn and winter when daylight shrinks. A café racer in muted colours might suit your aesthetic, but a high-visibility panel or reflective trim ensures cars see you in poor light.
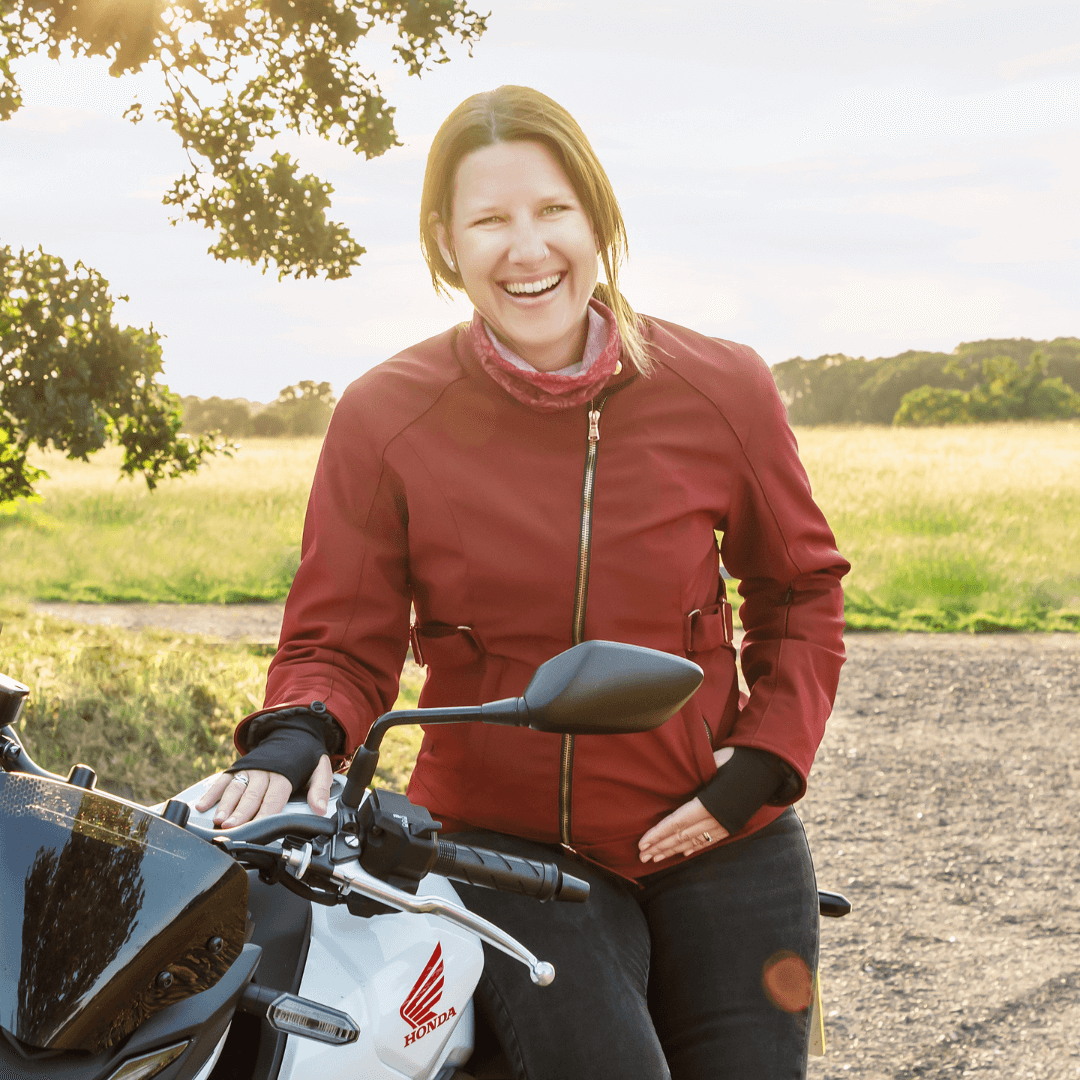
Mobility and comfort directly affect your safety. Restrictive gear forces you into awkward positions that lead to fatigue and poor riding decisions. When trying on a jacket, move through your riding position. Can you reach the handlebars comfortably? Can you twist your torso without the armour moving? Does the collar chafe? These details matter enormously after an hour on the bike. Different body shapes suit different cuts too. A tall, broad-shouldered rider has different proportions than someone shorter and slighter. Brands like Age of Glory and Eudoxie offer cuts designed for different body types, recognising that proper fit is where safety and comfort meet. Affordable gear that sits poorly protects you worse than expensive gear that fits perfectly. Arm length, torso length, and shoulder width all affect how armour sits relative to your actual impact zones.
Tip Visit a physical retailer like Veloce Club where you can try multiple brands and styles back-to-back, then make your first purchase in the style you’ll actually use most frequently rather than spreading your budget across gear for scenarios you rarely encounter.
Step 4: Check Fit and Comfort for All-Day Use
Gear that doesn’t fit properly is gear that won’t protect you. An armour panel that shifts out of position during a crash leaves you exposed. A jacket that’s too tight restricts your movement and creates pressure points that make you miserable after an hour of riding. Getting the fit right is where theory meets reality, and it’s the difference between gear you’ll actually wear and gear that sits in your wardrobe unworn.
Start by trying everything on with your full riding setup. This means wearing your thermal base layers if you ride in winter, and your gloves, boots, and helmet. The jacket needs to fit over whatever you’ll wear underneath it. Many people try gear on as a standalone piece and discover at home that it’s too tight when layered properly. Move through your natural riding position. Sit on a bike or chair in the exact posture you adopt when riding. Reach forward as if grabbing the handlebars. Your arms should have comfortable reach without stretching. Rotate your torso as if turning through a corner. The armour should stay in place, not ride up your ribs or slip down. Twist side to side as if checking your mirrors. If the collar digs in, you’ll feel it after ten minutes on the road. These test movements sound obvious but most riders skip them and regret it later. Ill-fitting gear reduces protection and rider focus, so this isn’t vanity, it’s genuinely about your safety.
Pay close attention to specific areas. The armour placement at elbows and shoulders should sit exactly where your body would naturally make contact with the road. Sit down and feel where your elbows naturally contact your ribs. That’s where elbow armour must sit. Shoulder armour should cover the bony top of your shoulder, not drift toward your neck or your upper arm. If you have to constantly adjust armour whilst wearing the jacket, the fit is wrong. Collar height matters too. Too high and it chokes you. Too low and it exposes your neck. The hem of the jacket should cover your waist even when you’re leaning forward. Many modern jackets have adjustment straps at the sides and hem specifically to fine-tune fit, and actually using these straps transforms comfort levels. Glove fit is critical because poor gloves compromise your grip and throttle control. Your fingers should reach the fingertips without excess fabric bunching, and the wrist should seal tightly so the glove doesn’t shift when you brake hard.
Boot fit requires the same attention. Your motorcycle boots need to be snug around the foot and ankle with no heel slipping. Heel slip means your foot will rotate inside the boot during braking or acceleration. Modern motorcycle boots often have multiple closures, zips, and buckles for a reason. Use all of them. Lace boots properly from the toe up, tightening progressively so you get even pressure rather than over-tightening at the ankle and leaving the midfoot loose. Walk around in your boots before committing to them. Ride-focused boots restrict ankle movement intentionally for safety, so they’ll feel stiffer than regular shoes. That’s correct. They should feel controlled and stable, not floppy.
Comfort features matter for all-day wearability. Moisture-wicking liners and ventilation features make significant differences on long rides. A textile jacket with mesh panels lets your body temperature regulate naturally during summer riding. Removable thermal liners mean you can adapt to changing conditions throughout the day. Quality zips should slide smoothly and not catch fabric. Pockets should be positioned where you can actually reach them without removing your gloves. Reflective panels should be visible even when you’re in your riding position, not hidden when you lean forward. Take time to try different brands if you can. Body proportions vary, and a jacket that’s perfect for one rider might feel awkward for another.
Tip Wear your gear for at least thirty minutes in the shop or at home before deciding to keep it, paying special attention to pressure points during your natural riding position, then book a short test ride to confirm comfort and fit at speed before making your final commitment.
Step 5: Verify Certifications and Quality Standards
Certifications aren’t bureaucratic red tape. They’re your assurance that gear has actually been tested against real-world crash scenarios. A jacket might look protective, but without proper certification, you’re essentially guessing. Understanding what those little marks on your gear actually mean puts you in control of your safety rather than hoping manufacturers are being honest.
Start by looking for the CE mark. This indicates the gear meets European safety standards, which are rigorous and comprehensive. The CE certification comes in different levels, and understanding these levels helps you match gear to your actual riding. CE Level 1 provides basic protection suitable for city riding, with armour tested for energy absorption and fabric rated for abrasion resistance at moderate speeds. Level 2 offers enhanced protection for more demanding conditions, with stricter testing standards and better materials. Level 3 represents the highest protection tier, designed for high-speed riding and aggressive environments. Your café racer cruising through Hitchin might be perfectly served by Level 1 or 2 gear, whilst an adventure rider tackling Welsh hillsides or someone regularly riding motorways should prioritise Level 2 or 3. The certification number should be visible on a label inside your jacket or printed on the care tag.
Beyond CE markings, look for other recognised certifications depending on your location and gear type. DOT standards (Department of Transportation) apply primarily to helmets in the United States, but you’ll see them on British gear too. ECE regulations are European standards that cover helmets specifically and are extremely stringent. SNELL certification represents independent testing that often exceeds mandatory standards. If you see any of these marks, it’s a positive sign. Conversely, if a piece of gear has no certification marks at all, question why. A manufacturer that invests in proper testing and certification is demonstrating they stand behind their product. One that skips certification entirely is cutting corners.
Use this reference for common motorcycle gear certifications and their purposes:
| Certification | Applies To | Main Protection Focus |
|---|---|---|
| CE Level 1 | Jackets, gloves | Basic abrasion, urban impacts |
| CE Level 2 | Jackets, armour | Enhanced impact absorption |
| CE Level 3 | Specialist armour | Maximum impact, high speeds |
| ECE 22.05/06 | Helmets | Rigorous impact/crush standards |
| DOT | Helmets | US legal roadworthiness |
| SNELL | Helmets | Independent, strict testing |
Quality standards extend beyond certifications. Examine the construction closely. Stitching should be neat, consistent, and double or triple stitched at stress points. Seams should lie flat without puckering. Zips should operate smoothly and have sturdy pullers that won’t snap off. Armour placement should be clearly marked or visible so you can verify it’s positioned correctly. Check that armour materials feel substantial, not thin or flimsy. Press on the armour in different spots. It should resist compression somewhat but not feel rock hard. Materials should feel like they’ll last through genuine use, not degrade after one season.
Read product specifications carefully. Legitimate manufacturers provide detailed information about materials, armour types, testing certifications, and sometimes even specific impact ratings. If a product description is vague or full of marketing fluff without actual specifications, that’s a warning sign. Brands sold through Veloce Club and similar reputable retailers tend to provide this information because they’re confident in their products. Unknown brands sold through dubious online marketplaces often lack this transparency. Weight and flexibility matter too. Protective gear shouldn’t feel like a suit of armour, and modern materials balance protection with wearability brilliantly. If gear feels impossibly heavy or restrictive, chances are it’s either poorly designed or using inferior materials that compromise comfort without adding genuine safety.
When comparing two seemingly similar jackets at different price points, look at what you’re actually paying for. Is the expensive one using better materials, more comprehensive armour, or better construction? Or is it just a brand name? Conversely, is the cheap one cutting corners on armour placement or using synthetic materials that won’t breathe? Price isn’t everything, but it generally correlates with quality. An exceptionally cheap jacket likely has compromises you’ll regret.
Tip Before purchasing, photograph the certification marks and specifications, then cross-reference them on official certification websites to confirm authenticity, especially when buying online where counterfeit gear occasionally appears.
Discover Motorcycle Gear That Truly Matches Your Needs and Style
Choosing the right motorcycle gear is about more than just looks or basic protection. It is about understanding the unique challenges you face on the road whether it is rain, low light, or long hours in the saddle. The article guides you through assessing your specific riding conditions and selecting certified gear that provides real safety benefits without sacrificing comfort or style. At Veloce Club, we share your passion for both performance and community, offering a carefully curated collection designed for a range of riders from urban commuters to adventurous explorers and café racers.

Explore our selection of premium motorcycle apparel and protective gear at Veloce Club where quality, fit, and style come together. Visit us online or drop by our Hitchin store to try on gear that meets the highest CE safety standards and fits your riding style perfectly. Join a community that values safety and experience with events and rides that put your new kit to the test. Start your journey to smarter, safer riding today by browsing our range here and embracing gear that advances your confidence on every mile.
Frequently Asked Questions
How do I assess my riding needs for motorcycle gear?
To assess your riding needs, consider your riding habits, local weather, and type of routes you tackle. Write down your typical riding conditions, including weather and distance, to guide your gear choices effectively.
What protective features should I look for in motorcycle gear?
Look for gear with CE certification, as it indicates safety standards have been met. Familiarise yourself with the protective features such as armour placement and material quality to ensure your gear will provide adequate protection in a crash.
How can I select motorcycle gear that suits my riding style?
To choose gear that suits your riding style, identify your typical riding scenarios and assess the specific protective features you need. Consider how often you ride in urban traffic versus on long tours to make informed choices that enhance your comfort and safety.
What should I check to ensure my motorcycle gear fits properly?
Ensure that your gear allows for comfortable movement in your riding position, with armour sitting correctly in impact zones. Try on your gear with your full riding outfit to make certain everything fits well without restricting your movement.
How often should I verify the certifications and quality of my motorcycle gear?
You should verify the certifications and quality of your gear before each purchase. Always check for CE certification marks and examine the construction details to ensure your investment in safety and comfort is well-founded.
What action can I take if my motorcycle gear doesn’t fit comfortably?
If your motorcycle gear doesn’t fit comfortably, adjust the straps or try different sizes until you find the right fit. Spend at least 30 minutes in the gear to assess comfort, then take it for a short test ride for final confirmation.
Share:
Why Wear Motorcycle Jackets: Style, Safety, Identity
Our Guide to Touring on your Motorcycle